Five Barre Moves to Master—No Tutu Required
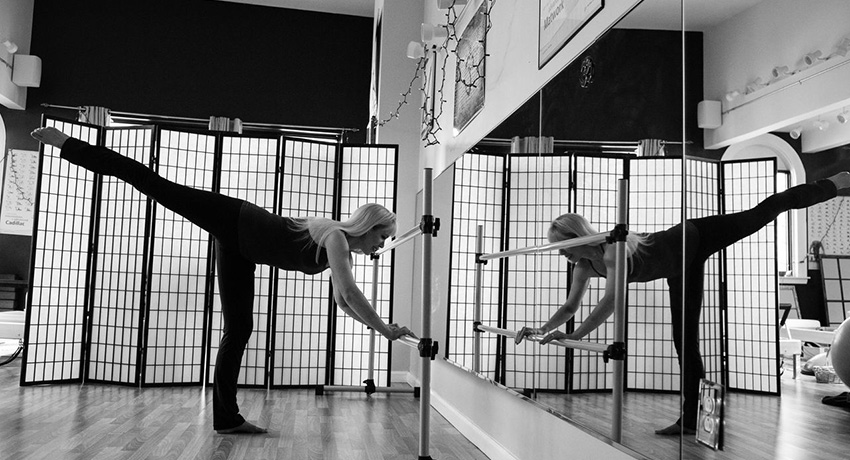
Julie a la barre. (All photos provided by Julie Erickson at Endurance Pilates and Yoga.)
There’s an abundance of barre studios to choose from in our area. Many of these classes are based on the Lotte Berk Method, which combines a mix of isometrics, Pilates, Hatha yoga, and dance conditioning. In a typical barre class, you’ll plié, tuck, pulse, and do leg lifts until your muscles are shaking uncontrollably. And while a barre class won’t make you a professional ballet dancer, it will help you get on your way to the coveted dancer’s body. In fact, even football players have been known to take ballet barre classes to improve their reflexes and flexibility. Julie Erickson, creator of Barre Boston and owner of Endurance Pilates and Yoga, shows us five barre moves we can do at home.
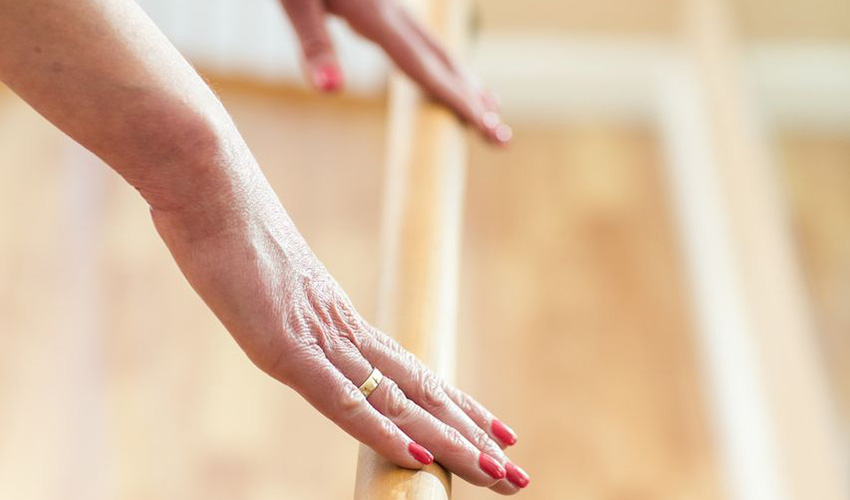
Proper hand placement.
1. Hand Placement
“The barre is used in class to be your partner, not your main supporter,” Erickson says. “In fact, you don’t need a barre at all. You should be able to take your hands off of it at anytime, hold the position of your body, and continue the movement in your legs. No white-knuckling or grasping in any exercise. Practice taking hands off the barre or chair every time you come into a start position to ensure that you are doing the work of supporting the body, not relying on the arms.”
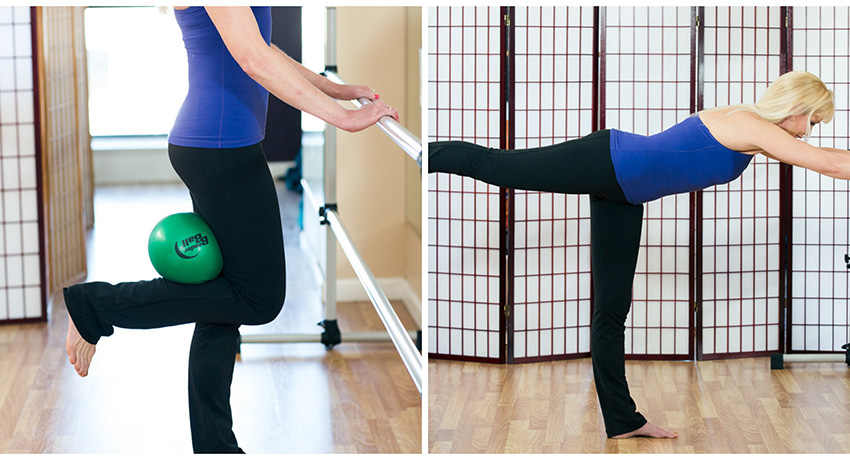
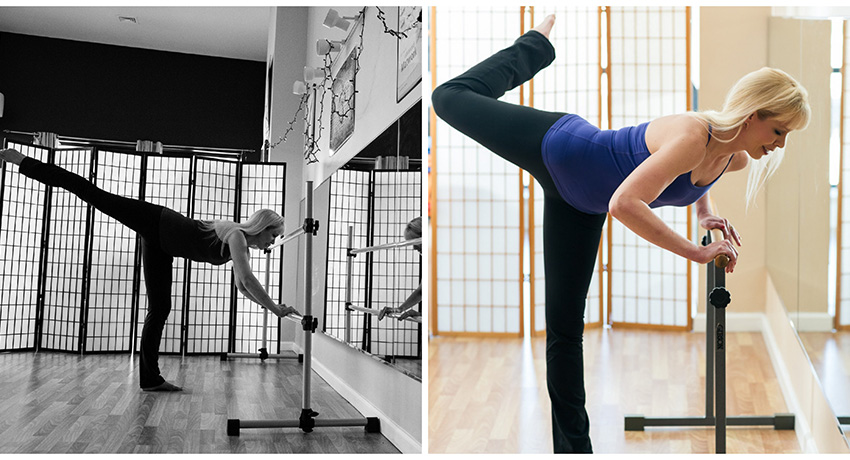
Hip extension and hip extension reach
2. Hip extension
“This movement, extending the hip, is a prime motion in many of the exercises we do in a barre class. It is imperative for lower back health that students understand that the pelvis and lower back stay in a fixed position while the front of the leg lengthens and the back of the leg and tush do the work,” Erickson says. “Use the mirror. Your lower back and pelvis should remain still from your start position until the end of the exercise, when extending the hip. When standing, the start position of the leg should be knee to knee. In the reaching from the barre position, the body should stay as long as possible and the movement should be a tiny lift of the lengthened leg without arching the back. Start with two sets of 20 repetitions of each exercise and build the sets.”
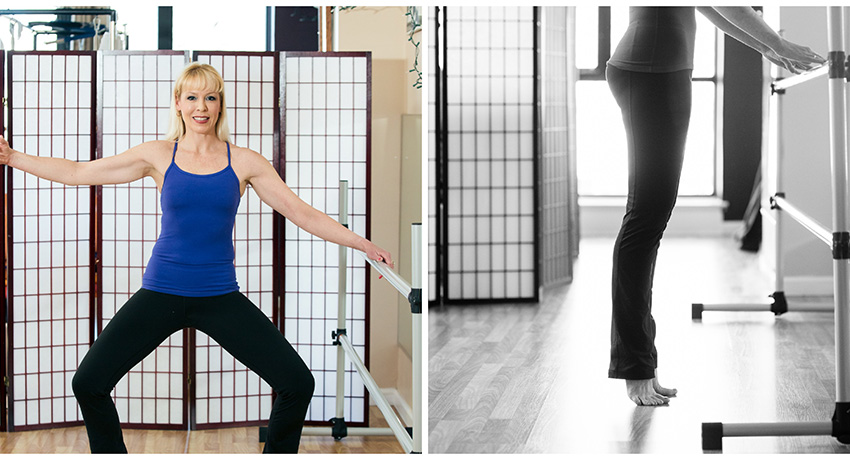
Plie and releve
3. Plie and relevé
Erickson says that for a proper turnout, you should stand as tall as possible, creating a long waistline. Tuck and drop tailbone down, opening the front of the thighs, engaging the glutes and hamstrings, and bringing the pelvis into a more neutral position. Lift the ribcage off the hips, pull the shoulders back, and lengthen the crown of the head to the ceiling. Turn out from the hip sockets only; the knees and ankles follow the movement of the hip to find your natural turn out.
Relevé: “Rise up on the toes and lift the heels. Knees should be in line with the hips and with the first and second toes. As the heels lift, the movement should be up, not forward, the entire leg chain, including the glutes and hamstrings, not just the calf muscles. Start with 30 repetitions and add additional as the muscles become used to the movement,” Erickson says.
Plie: “[A plie] can be done with feet flat or heels raised, with legs together or apart. While maintaining proper turnout, bend the knees. Ensure that the torso stays upright, the ribcage stays above the hips, and the movement is down, not back,” Erickson says. “Look at the knees to ensure that they stay aligned with the hips and are lined up with the first and second toes for new students, eventually the third and fourth toes for experienced. Start with 30 plies and build the number of repetitions as the legs get stronger.”
Arabesque and attitude
4. Arabesque/Attitude
“I think these two exercises are some of the best reasons why we love barre. Release your inner ballerina, go long and beautiful, but in a safe way,”Erickson says. “Arabesque is done with a straight leg and attitude, a bent knee. Either can be done with an upright posture, or a reach with the upper body forward. The supporting foot can be on the floor or heel lifted. In either case, the ribs and shoulders stay squared to the floor, while the hips open to the side and the leg reaches away from the torso. Holding the position is a challenge and attempting to increase the length and reach of the lifted leg should be done with care to ensure the torso can maintain the challenge. Try three sets of 10 repetitions of each exercise and add sets as you get stronger.”
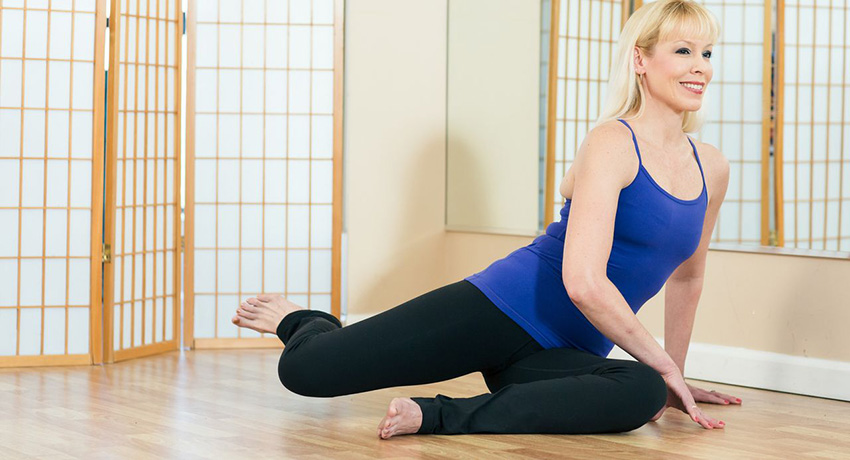
Pretzel
5. Pretzel
“Just holding the start position can be a challenge for folks that are tight,” Erickson says. “The front shin is parallel to the front of the mat and the back leg reaches back, opening the front of the hip so that the start position of the knee is behind the hip. Lengthen the torso away from the back leg and use the hands to lightly support in order to lift the back leg from the floor. The pelvis and lower back remain still, using strong core support. The belly pulls in and up. The back leg lifts a tiny bit and never returns to the floor. Everything else in the body remains still. Try one set of 20 to 40 repetitions.”