Three Non-Dairy Milk Recipes to Try at Home
In recent years, the popularity of non-dairy milks—soy, rice, almond, and more—has risen dramatically. Whether it’s because the milk is vegan, lactose-free, or has a lower calorie count, more people are incorporating these milks into their healthy lifestyle. Every time I scroll through my Pinterest feed, I see that people are not only drinking more dairy-free milk, but they’re also making their own.
That’s why I decided to take the challenge and try my own versions of non-dairy milk recipes. I went into the process thinking that it would be expensive and time consuming. Surprisingly, it cost less than $20 to make three varieties—almond, coconut, and cashew—and took only 10 minutes to make each one.
All that’s needed is water, a blender, a fine-mesh strainer or cheesecloth, and the nuts. I originally started with a cheesecloth for straining the pulp, but it was too difficult to maneuver and made a giant mess. I switched to the strainer, which made the process a lot easier. If you want to add some flavor, you can also use dates, vanilla, cinnamon, and other spices. Use a 1:4 ratio of nuts to water, and reduce the water by 1/2 cup if you want thicker milk.
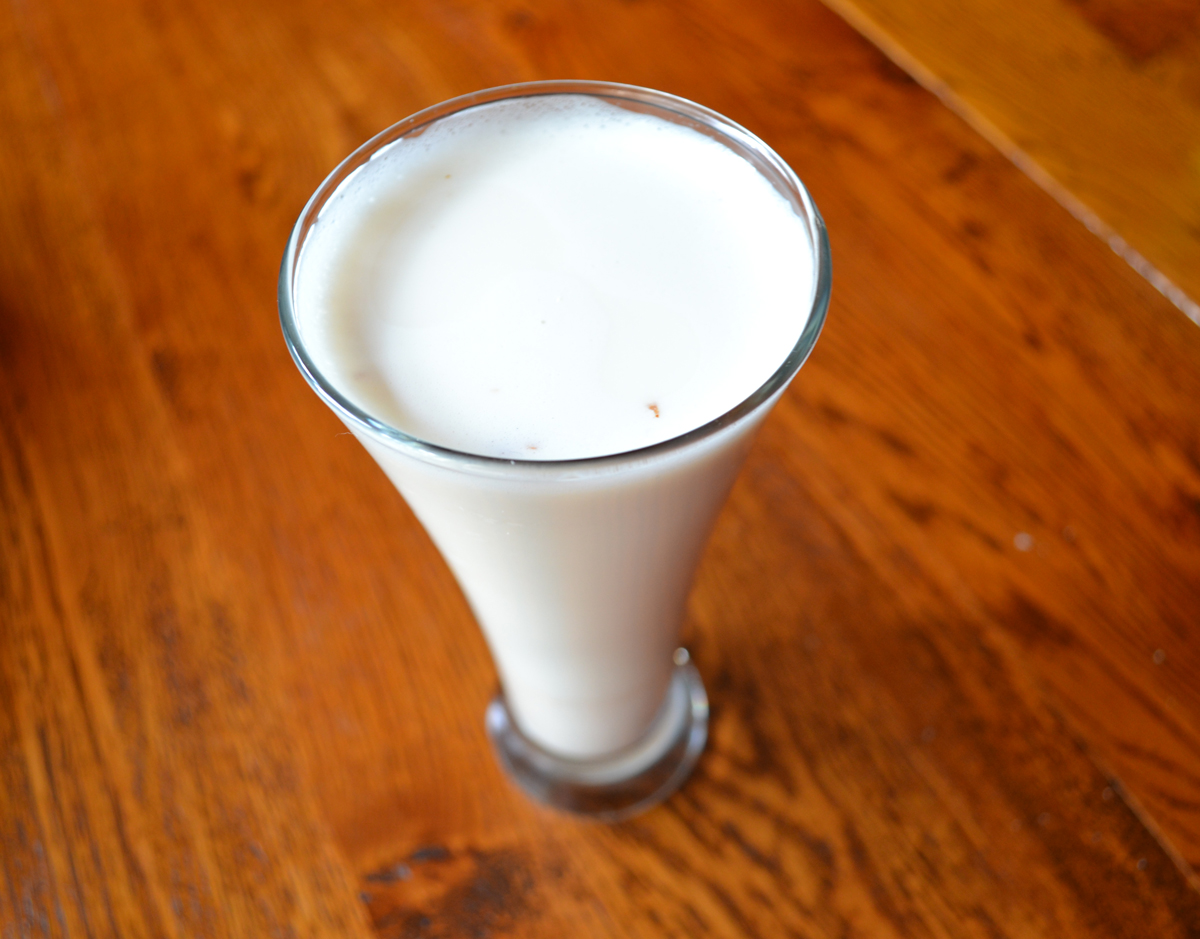
Almond milk photo via Asia Bradlee
*Note: For all recipes, after making the milk store it in the fridge for five to seven days.
1. Almond Milk
It’s important to soak the almonds overnight before making the milk. By soaking them, the nuts get soft and allow for an easier blending process. Although the recipe starts with four cups of water, by the end you’ll have about half that amount in milk, more if you’re diligent with the straining.
Ingredients: 1 cup soaked almonds, 4 cups water, extra ingredients for flavor.
Directions: Drain the soaked almonds, place them and the water in a blender, and blend for two minutes. Using your strainer or cloth, squeeze the the milk into a separate bowl or glass, leaving the pulp and skin behind. Return the milk to the blender, blend again, and repeat the straining process. If you use extra ingredients, add them in after straining and blend one more time.
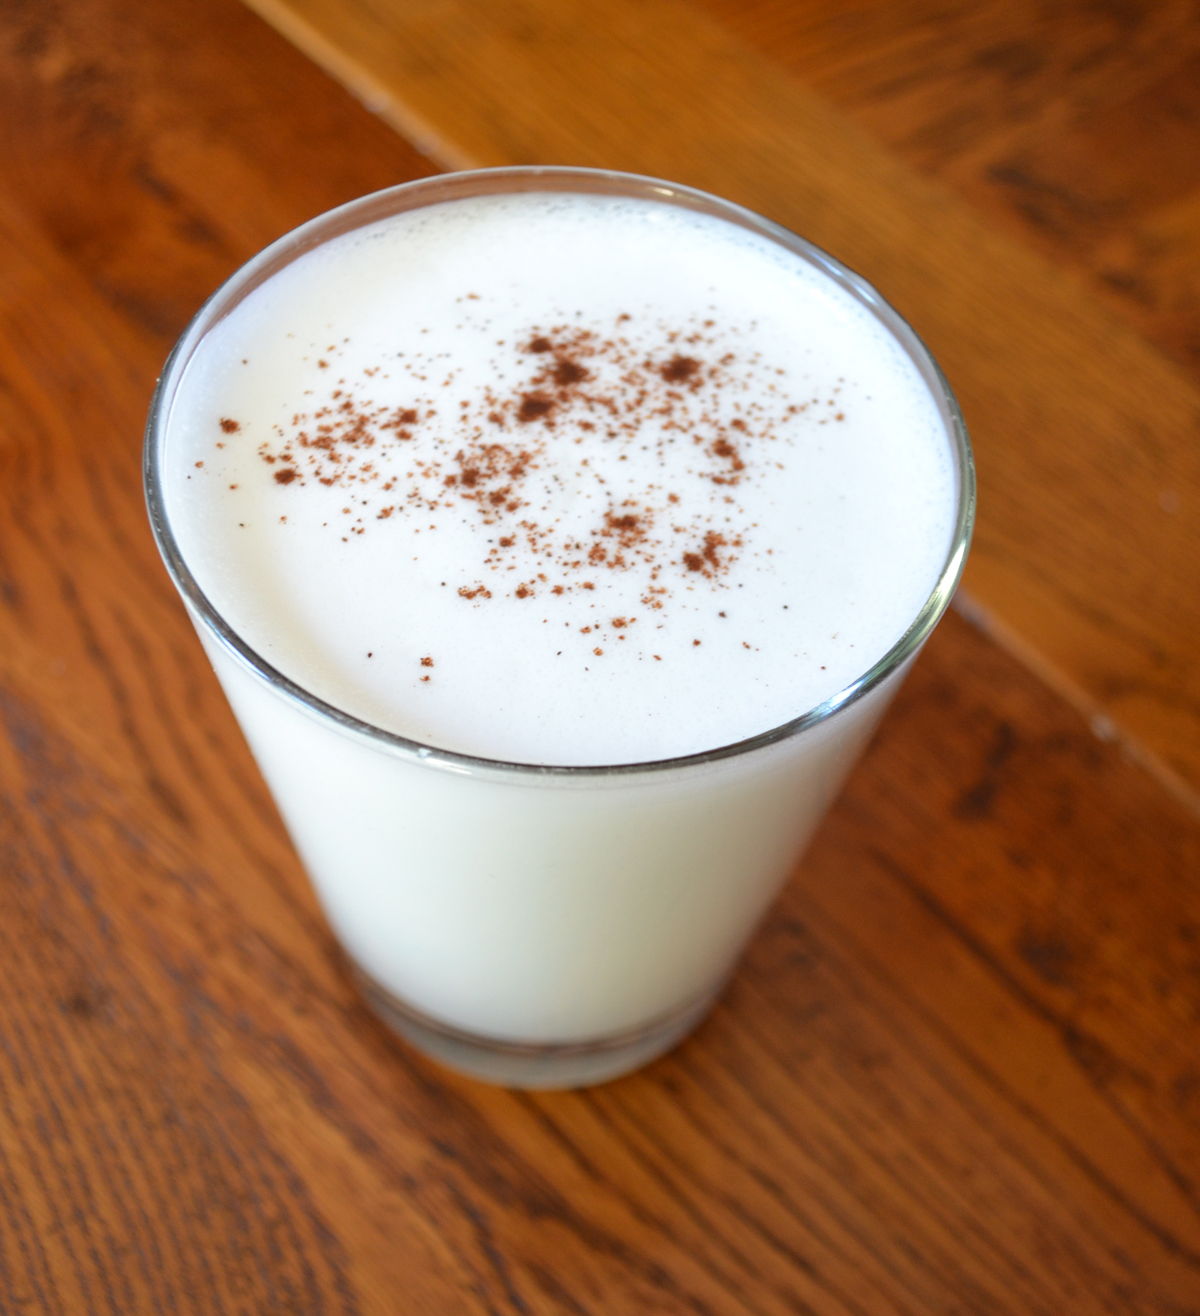
Coconut milk photo via Asia Bradlee
2. Coconut Milk
Neat freaks beware: Make sure you split this recipe in half and do it in two batches. I found this out the hard way when I stuffed all of the ingredients into the blender and the contents exploded out the top. For added spice, I also topped the final product with cinnamon.
Ingredients: 1 cup unsweetened shredded coconut, 4 cups water, extra ingredients for flavor.
Directions: Halve the recipe and combine 2 cups water with 1/2 cup coconut. Blend the coconut and water for two minutes, then strain the milk out. Blend and strain again, then blend a final time if adding extra ingredients, but don’t strain. Repeat with the other half of the batch and combine both batches.
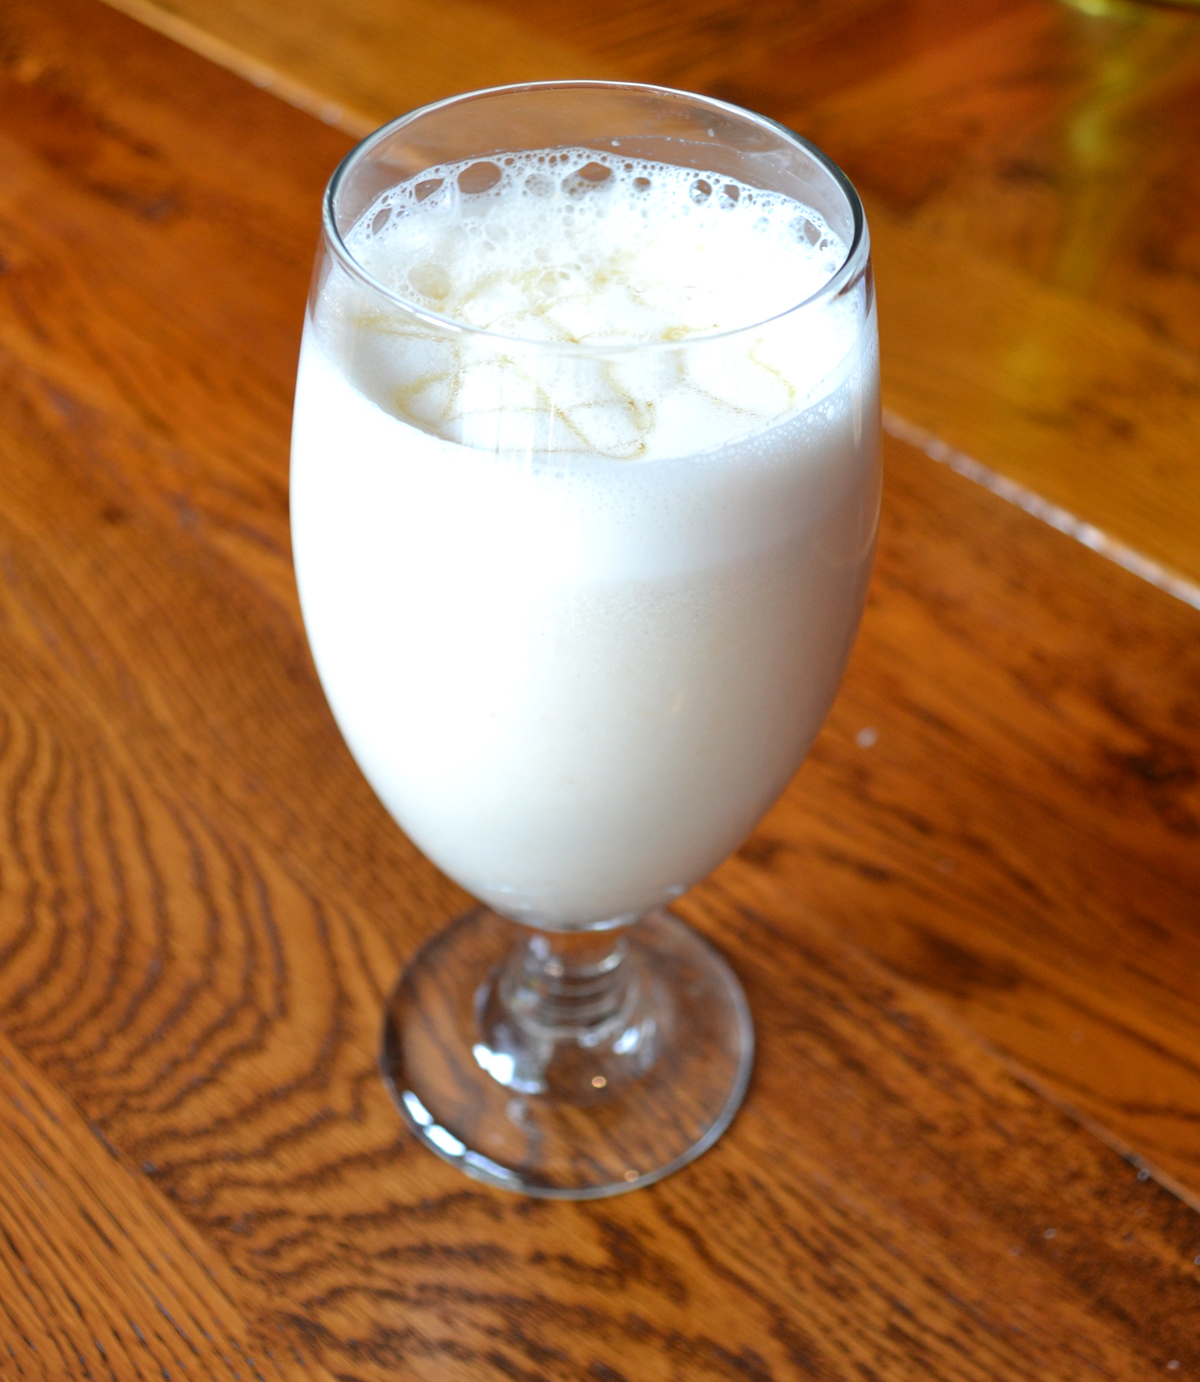
Cashew milk photo via Asia Bradlee
3. Cashew Milk
Like the almond milk, it’s essential to soak the cashews the night before. Unlike the almonds, however, the natural softness of the cashews doesn’t require the milk to be strained. I added a little natural sweetness to the milk with a drizzle of honey on the final product.
Ingredients: 1 cup soaked cashews, 4 cups water, extra ingredients for flavor.
Directions: Drain the cashews and add them with the water to the blender. Blend until the cashews have dissolved completely. Add any extra ingredients and blend a final time.